Automating ETL Processes with Node.js
Automating ETL Processes with Node.js


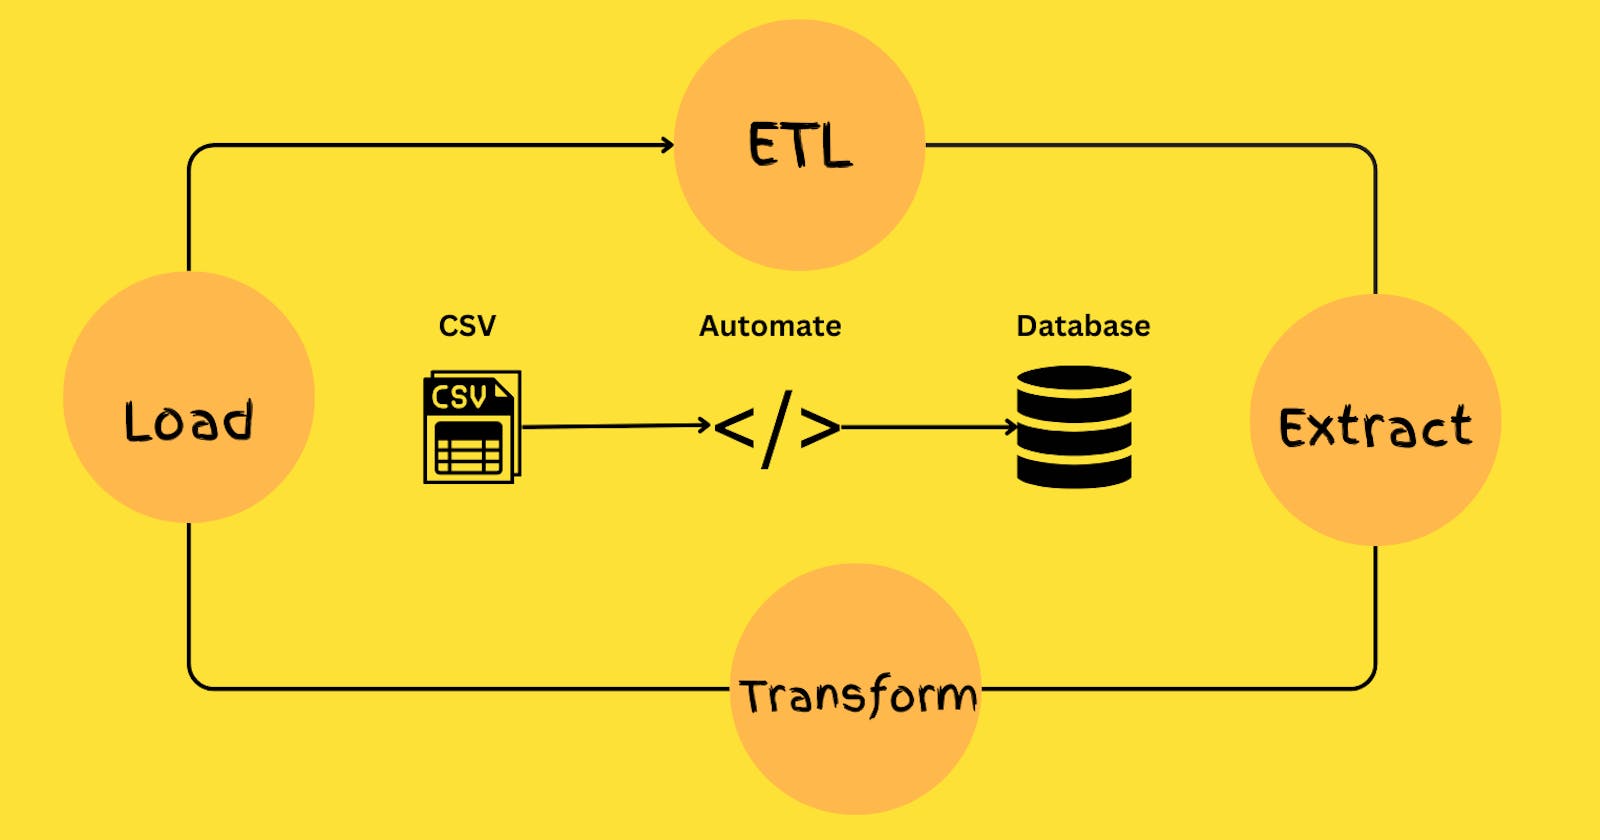
The Extract, transfer and load(ETL) processes is the process of extracting, transforming and loading data from multiple source into a centralized container known as data warehouse. This data warehouse is what serve as the repository where all the exchanged and integrated data are been stored and kept for analysis.
By automating these processes, Node.js, a scalable JavaScript runtime language, made it easier for developers to possibly automate those processes with sequential lines of code, thereby creating efficient data pipelines that streamline data integration and analysis.
In this tutorial guide, we'll explore how to efficiently automate ETL processes with Node.js for efficient data pipelines.
Prerequisites:
To efficiently automate ETL processes with Node.js for efficient data pipelines, the following prerequisite is necessary:
1. Nodejs
- Ensure Node.js is installed on your local machine.
2. MongoDB
- Make sure MongoDB is installed locally into your machine.
3. Csv-parser
- Install the csv-parser module, A tool and library for processing CSV data during ETL process.
Initialize Node.js Application
- Open a terminal, create a directory for the project and also Initialize the Node.js project by running the following command:
npm init --y
- Installed required dependencies:
npm install csv-parser mongodb dotenv
- Create a
data.csvfile inside the root directory and add the following text below:
NAME,CAREER
REV ONUCHE, SOFTWARE DEVELOPER,
Damilola Daramola, SOFTWARE DEVELOPER,
David Herbert,TECHNICAL WRITER,
WIsdom Nwokocha,TECHNICAL WRITER
Now, let's break down the ETL processes into phases:
Extract Phase
In the extraction phase, this is the initial phase where raw data is automatically extracted and processed from the data.csv file using the CSV library for easier extraction.
Below are the code snippets with breakdowns to help you understand the full concept of this code:
Setup File System Module(FS):
Initiates the file system module, by importing the fs module. The fs which is known as the file system is a built-in Node.js module that provides file-related operations.
const fs = require('fs');
MongoDB Setup:
Import the MongoClient class from the MongoDB Node.js driver.
const { MongoClient } = require('mongodb');
CSV Parser Setup:
Import the csv-parser module using the code snippet below.
const csvParser = require('csv-parser');
Import the CSV Data Path:
Ensure you created a data.csv file in your project.
const csvDataPath = 'data.csv';
Setup Environment Configuration:
This automatically configure environment variables using the dotenv module.
require('dotenv').config();
Create an extractData function:
Create a function extractData() that will extract data from the data.csv file
const extractData = (csvDataPath) => {
  return new Promise((resolve, reject) => {
    const data = [];

    fs.createReadStream(csvDataPath)
      .pipe(csvParser())
      .on('data', (item) => {
        data.push(item);

      })
      .on('end', () => {
        resolve(data);
      })

      .on('error', (error) => {
        reject(error);
      });
  });
};
Here is what the code explains below:
const extractData = (csvDataPath) => { ... }: This declares a function namedextractDatausing an arrow function. It takes a parameter,csvDataPath, which is the path to the CSV file.return new Promise((resolve, reject) => { ... });: These returns a new Promise function. it handles asynchronous operations.const data = [];: This create an empty array nameddata.fs.createReadStream(csvDataPath): ThecreateReadStreamfunction reads data from thecsvDataPath..pipe(csvParser()): Thepipemethod primarily connects the readable stream of thecsvDataPathand pass out the output to thecsv-parsermodule for further processing..on('data', (item) => { ... }): This event handles each row of data parsed from the CSV file. Thedata.push(item)function appends the item to an array calleddata..on('end', () => { ... }): This event handler is triggered when the end of the CSV file is reached. It resolves the promise with the populateddataarray..on('error', (error) => { ... }): This event handler , handles an error that might occur during the file reading or parsing process.
Transform Phase
In the transform phase, this is where the extracted data is refined and structured.
// Transform Phase
const transformData = (csvData) => {
  return csvData.map((items) => ({
    name: items.NAME.trim(), // Trim whitespace from the Name valu
    career: items.CAREER.trim(),  // Trim whitespace from the career value
  }));
};
Here is what the code explains below:
const transformData = (csvData) => {: This declares a functiontransformDatathat takes a parametercsvData.return csvData.map((items) => ({: The map function iterates each item in the allcsvDataarray.name: items.NAME.trim(): This extracts theNameproperty from thedata.csvfile in each item, together with.trim()that trims out any whitespace.career: item.CAREER.trim(),: This also extracts theCareerproperty from thedata.csvfile each item.
Load Phase:
In the load phase, this is where the extracted data is loaded into the mongoDB database.
Add a .env file:
Create a .env file in the root directory and add your mongoDB url.
MONGODB_URL='YOUR_MONGODB_URL'
Set Up the MongoDB connection URL from environment variables:
Locate the MONGODB_URL using the process.env.YOUR_MONGODB_URL_NAME.
const dbUrl = process.env.MONGODB_URL;
Set the MongoDB connection string:
This code uses template literals to call dbUrl instead of rewriting process.env.MONGODB_URL again.
const connectionString = `${dbUrl}`;
Set the database name:
const databaseName = process.env.MONGODB_DATABASE || 'etldb';
This code sets the databaseName variable by checking if the MONGODB_DATABASE environment variable is defined. If defined, it uses that value; otherwise, it set defaults to etldb.
Set the collection name:
This creates a collection name users in the mongodb database.
const collectionName = 'users';
Create a LoadData Function:
Create an async loadData() with the following parameters: transformedData, databaseName, collectionName, connectionString.
const loadData = async (transformedData, databaseName, collectionName, connectionString) => {
  const client = new MongoClient(connectionString, {
    useNewUrlParser: true,
    useUnifiedTopology: true,
  });

  try {

    await client.connect();
    console.log('Connected to MongoDB successfully.');

    const db = client.db(databaseName);
    const collection = db.collection(collectionName);

    const response = await collection.insertMany(transformedData);
    // console.log("RESPONSE", response);
    console.log(`${response.insertedCount} CSV Data Successfully loaded to MongoDB.`);

  } catch (error) {
    console.error('Error Connecting MongoDB', error);
  }

  await client.close();
};
Call the extractData() to Initiates the ETL process:
extractData(csvDataPath)
  .then((rawData) => {
    const transformedData = transformData(rawData);
    return loadDataToMongoDB(transformedData, databaseName, collectionName, connectionString);
  })
  .catch((error) => {
    console.error('Failed to extract or load data into MongoDB:', error);
  });
This code initiates the ETL process by extracting it, transforming it and also loading it to the MongoDB database:
Entire Code:
const fs = require('fs');
const csvParser = require('csv-parser');
const { MongoClient } = require('mongodb');
const csvDataPath = 'data.csv';

require('dotenv').config();

// Extract Phase

const extractData = (csvDataPath) => {
  return new Promise((resolve, reject) => {
    const data = [];

    fs.createReadStream(csvDataPath)
      .pipe(csvParser())
      .on('data', (item) => {
        data.push(item);

      })
      .on('end', () => {
        resolve(data);
      })

      .on('error', (error) => {
        reject(error);
      });
  });
};


// Transform Phase
const transformData = (csvData) => {
  return csvData.map((items) => ({
    name: items.NAME.trim(), // Trim whitespace from the Name value
    career: items.CAREER.trim(),  // Trim whitespace from the career value
  }));
};


const dbUrl = process.env.MONGODB_URL;

const connectionString = `${dbUrl}`;
const databaseName = process.env.MONGODB_DATABASE || 'etldb';
const collectionName = 'users';

// Load Phase
const loadData = async (transformedData, databaseName, collectionName, connectionString) => {
  const client = new MongoClient(connectionString, {
    useNewUrlParser: true,
    useUnifiedTopology: true,
  });

  try {

    await client.connect();
    console.log('Connected to MongoDB successfully.');

    const db = client.db(databaseName);
    const collection = db.collection(collectionName);

    const response = await collection.insertMany(transformedData);
    // console.log("RESPONSE", response);
    console.log(`${response.insertedCount} CSV Data Successfully loaded to MongoDB.`);

  } catch (error) {
    console.error('Error Connecting MongoDB', error);
  }

  await client.close();
};

extractData(csvDataPath)
  .then((rawData) => {
    const transformedData = transformData(rawData);
    return loadData(transformedData, databaseName, collectionName, connectionString);
  })
  .catch((error) => {
    console.error('Failed to extract or load data into MongoDB:', error);
  });
Run the Server:
Navigate to the terminal and start the server using this command: Make sure you have nodemon installed in your local machine.
nodemon etl.js
Your server is now running locally..
Response:
Now it gives a response with the amount of data's added into the MongoDB database.

Check your MongoDB:
Check your mongoDB to automatically see the data loaded successfully to the MongoDB.

Conclusion:
ETL process has been a building block for companies and enterprise, and it is the best way for companies to transform those data into more readable streams or format.
Furthermore, it general use case is mostly in the data warehousing- where data from various sources are been combined into a database for business analysis and customers insights.
As we have come to the end of this tutorial what other pattern do you use to automate ETL processes in Nodejs? Let's us know in the comment section.